
Space to work
From the get-go, our plan has always been to be able to work on the road.
Megan and I both work from home so working on the road shouldn’t be too difficult. All we need are our PCs and an internet connection. The only other thing we needed was the space to work.
To that end, we’ve always had two things in mind that we would need:
1. A caravan large enough for us both to work in when the weather is unfriendly, and
2. A table/desk somewhat larger than any caravan we have seen can provide (in standard form)
As detailed in other posts (see here and here), we settled on a club lounge format. But even those don’t provide enough “desk” area for the two of us to work at the same time, so we always knew we’d have to create a solution for ourselves. Over the past week or so I have done just that, and that solution is presented here.
Construction
I selected 12 mm ply as the desk material as something of a compromise between strength/stiffness and weight.
After cutting the board to size I glued and nailed an aluminium angle to the end. This grabs the edge of the caravan table, allowing the extension to bear weight. I used nails instead of screws to minimise the amount of wood removed by the fixings. The hope is that the polyurethane glue will do the bulk of the work.


I used the table itself as a template for placing the extension supports (3 strips of ply, left of picture). These are placed hard against the far side of the table (replicated here by the level) to prevent the extension from moving towards the aluminium angle. This prevents the angle from losing its grip on the underside of the front edge. The strips also add strength to the overhanging section. Glue and nails hold them in place.
I applied spray adhesive to the underside of the extension in the area that will sit on top of the existing table. This area is then lined with felt to protect the table while the extension is in use.


The felt was placed over the glue area and smoothed to remove bubbles and lumps.
Here you can see the felt in place with the end near the overhang supports trimmed.


A test fit.
In this image the aluminium bracket is on the right, gripping just under the front edge of the table. The extension supports are pressed against the back edge of the table. The extension can be removed by lifting the back to allow the supports to clear the table and sliding the whole unit forwards, releasing the front bracket.
Finish
Finally, the top was covered with a marble look contact paper. I don’t know how well this will wear, but it’s nice and light.

Use

Both halves of the “desk” in place.
When working we will sit and work at the main table – where there is support from the floor – while the extension gives us room for other necessary items. For instance, I always work on a 24″ monitor with proper keyboard and mouse, which I’ll place on the table. My laptop will sit on the extension as a secondary monitor.
And conveniently, there is exactly the right space above the under-bed drawer and divider for them both to be stored.

Caravan / Customisation / DIY / Planning
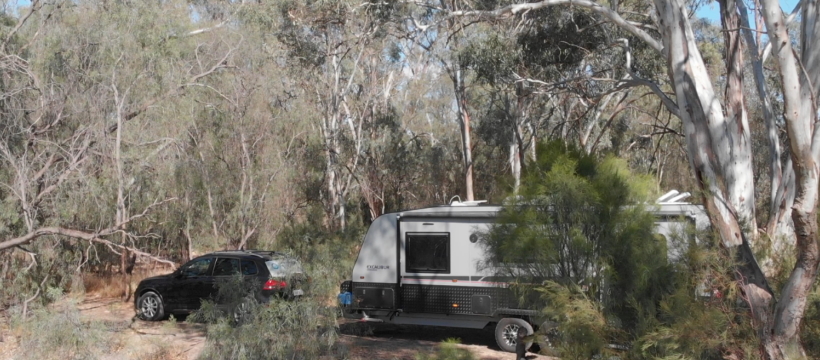
 It’s ours!
 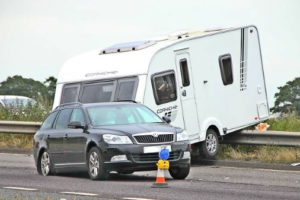 Learning to tow


